Environments
LaTeX environments are used to apply specific typesetting effect(s) to a section of your document’s content. This article explains how to use existing environments and define new ones.
Introduction
An environment starts with \begin{name} and ends with \end{name}:
\begin{name}
Your content here...
...goes here...
\end{name}
where “name” is the name of the environment being used—such as the following example using “center” to format (center) a paragraph of text:
\documentclass{article}
\begin{document}
\begin{center}
This is a demonstration of the \texttt{center} environment.
This paragraph of text will be \textit{centred} because it is
contained within a special environment. Environments provide
an efficient way to modify blocks of text within your document.
\end{center}
\end{document}
Open this example in Overleaf.
This example produces the following output:

Environments
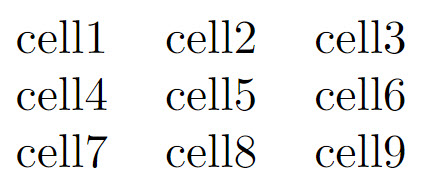
The following example uses the tabular environment to typeset a small table. tabular takes an additional argument { c c c } which defines the alignment of the cells—see the Tables article for more information.
\documentclass{article}
\begin{document}
\begin{tabular}{ c c c }
  cell1 & cell2 & cell3 \\
  cell4 & cell5 & cell6 \\
  cell7 & cell8 & cell9 \\
 \end{tabular}
\end{document}
Open this example in Overleaf.
This example produces the following output:
Some environments accept optional arguments which are usually passed inside brackets ([...]).
Defining a new environment
To define a new environment use the \newenvironment command which has the general form:
\newenvironment{name}[numarg][optarg_default]{begin_def}{end_def}where:
nameis the name of this user-defined argument;numargis the number of arguments, from 1 to 9, this environment accepts. If[numarg]is omitted then the environment does not accept any arguments—such as theboxedenvironment defined in the next example;optarg_defaultmakes the first argument optional and provides a default value—i.e., it is the value used if an optional argument value is not provided;begin_defis LaTeX code executed when the environment starts (opens), i.e., when you write\begin{name}. Within this code you can use arguments accepted by the environment—note that the optional argument is #1 and the remaining arguments are accessed using #2 to #numarg;end_defis LaTeX code executed when the environment ends (closes); i.e., when you write\end{name}. You cannot use any of the arguments within this code section.
Defining simple environments
In this first example, we define the boxed environment which does not take any arguments. It draws a box around text contained within the environment:
\documentclass{article}
%We can define the environment in the preamble
\newenvironment{boxed}
    {\begin{center}
    \begin{tabular}{|p{0.9\textwidth}|}
    \hline\\
    }
    {
    \\\\\hline
    \end{tabular}
    \end{center}
    }
%
\begin{document}
Now we can use the \texttt{boxed} environment in our document:

\begin{boxed}
This text is formatted within the \texttt{boxed} environment.
\end{boxed}

This text is typeset outside the \texttt{boxed} environment.
\end{document}
Open this example in Overleaf.
This example produces the following output:

If we compare our definition of boxed with the general form of \newenvironment we can see:
nameisboxed;- neither
[numarg]or[optarg_default]are provided because this environment does not take any arguments; begin_defis the LaTeX code—provided between a pair of braces{...}—which is executed when the environment starts (opens):
\begin{center}
    \begin{tabular}{|p{0.9\textwidth}|}
    \hline\\
end_defis the LaTeX code—provided between a pair of braces{...}—which is executed when the environment stops (closes):
    \\\\\hline
    \end{tabular}
    \end{center}
In the example, begin_def starts a center environment and within that a tabular environment is opened to draw vertical lines and a horizontal line around the text we place in the environment. end_def draws another horizontal line then closes the tabular and center environments.
Defining environments which take arguments
Let’s enhance the previous example to do the following:
- use an optional argument to typeset a title. If a title is not provided, use the default value
This is a box; - use a second argument which contains material to typeset ahead of the text we provide within the environment itself.
So we have 2 arguments:
- the first (argument 1) is optional;
- the second (argument 2) is not.
This means numarg=2.
We can use the following definition of our updated boxed environment:
\newenvironment{boxed}[2][This is a box]
    {\begin{center}
    Argument 1 (\#1)=#1\\[1ex]
    \begin{tabular}{{{!}}p{0.9\textwidth}{{!}}}
    \hline\\
    Argument 2 (\#2)=#2\\[2ex]
    }
    {
    \\\\\hline
    \end{tabular}
    \end{center}
    }
This enhanced version differs from the original in the following ways:
- [numarg] is present and has the value 2;
- [optarg_default] is also present, making the first argument optional with a default value
This is a box.
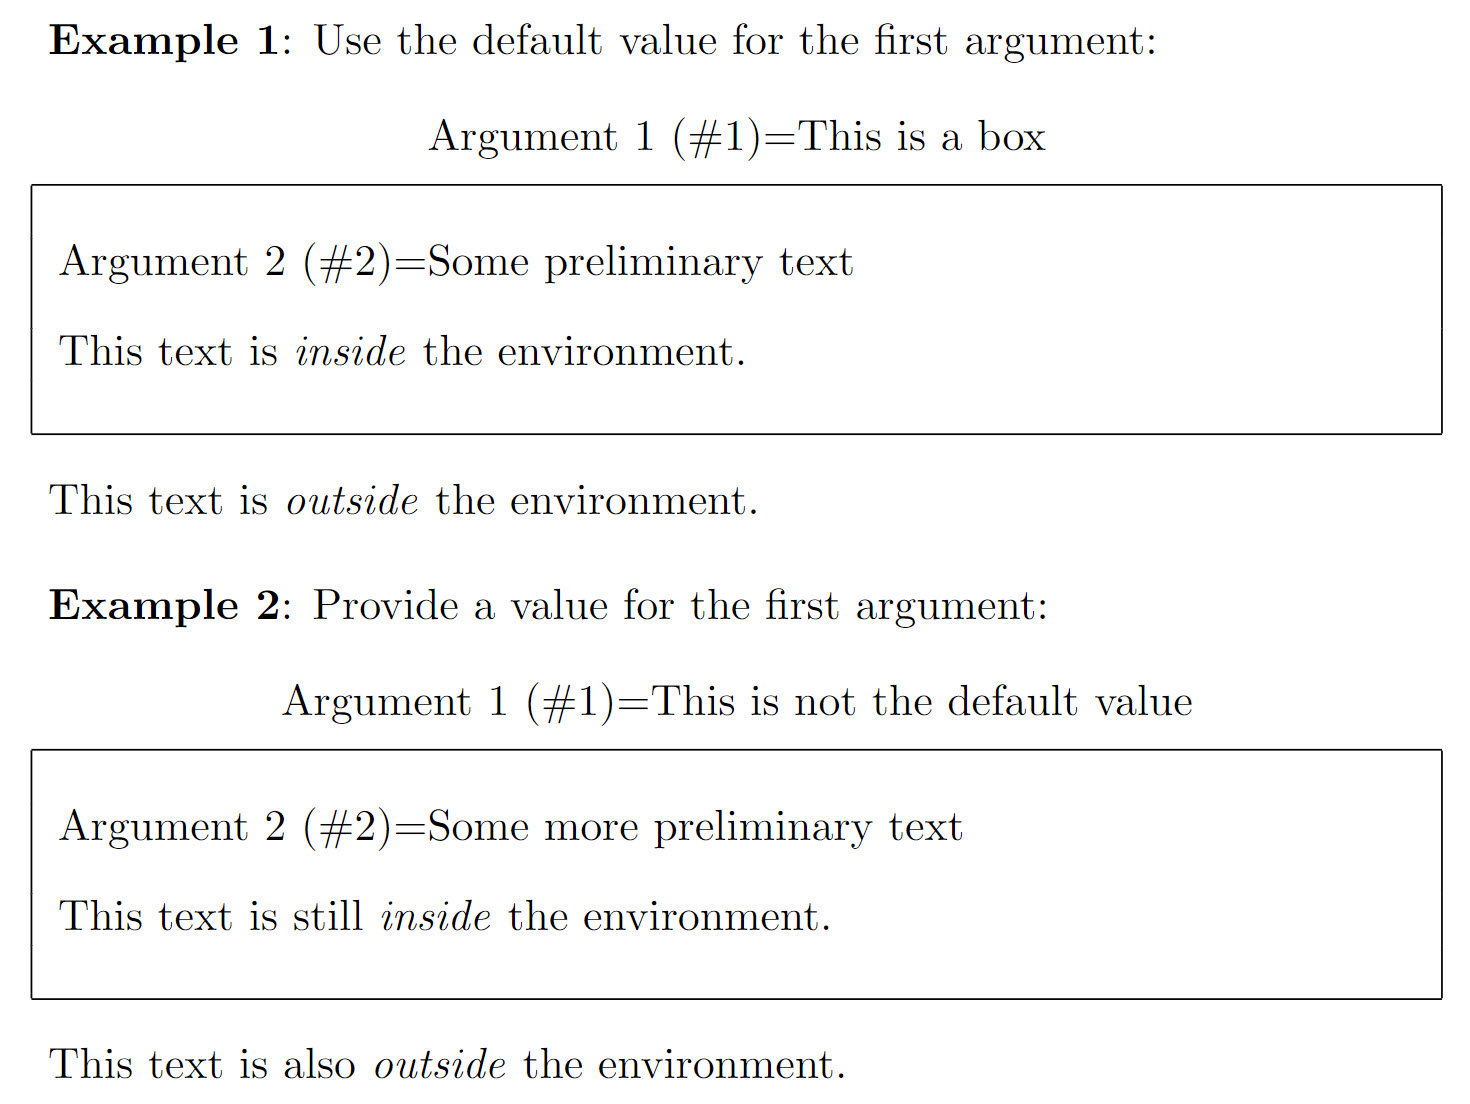
The following example demonstrates some uses of our upgraded boxed environment:
\documentclass{article}
% Note the default value for the first
% argument is provided by [This is a box]
\newenvironment{boxed}[2][This is a box]
    {\begin{center}
    Argument 1 (\#1)=#1\\[1ex]
    \begin{tabular}{|p{0.9\textwidth}|}
    \hline\\
    Argument 2 (\#2)=#2\\[2ex]
    }
    {
    \\\\\hline
    \end{tabular}
    \end{center}
    }
\begin{document}
\textbf{Example 1}: Use the default value for the first argument:

\begin{boxed}{Some preliminary text}
This text is \textit{inside} the environment.
\end{boxed}

This text is \textit{outside} the environment.

\vskip12pt

\textbf{Example 2}: Provide a value for the first argument:

\begin{boxed}[This is not the default value]{Some more preliminary text}
This text is still \textit{inside} the environment.
\end{boxed}

This text is also \textit{outside} the environment.
\end{document}
Open this example in Overleaf.
This example produces the following output:
Numbered environments
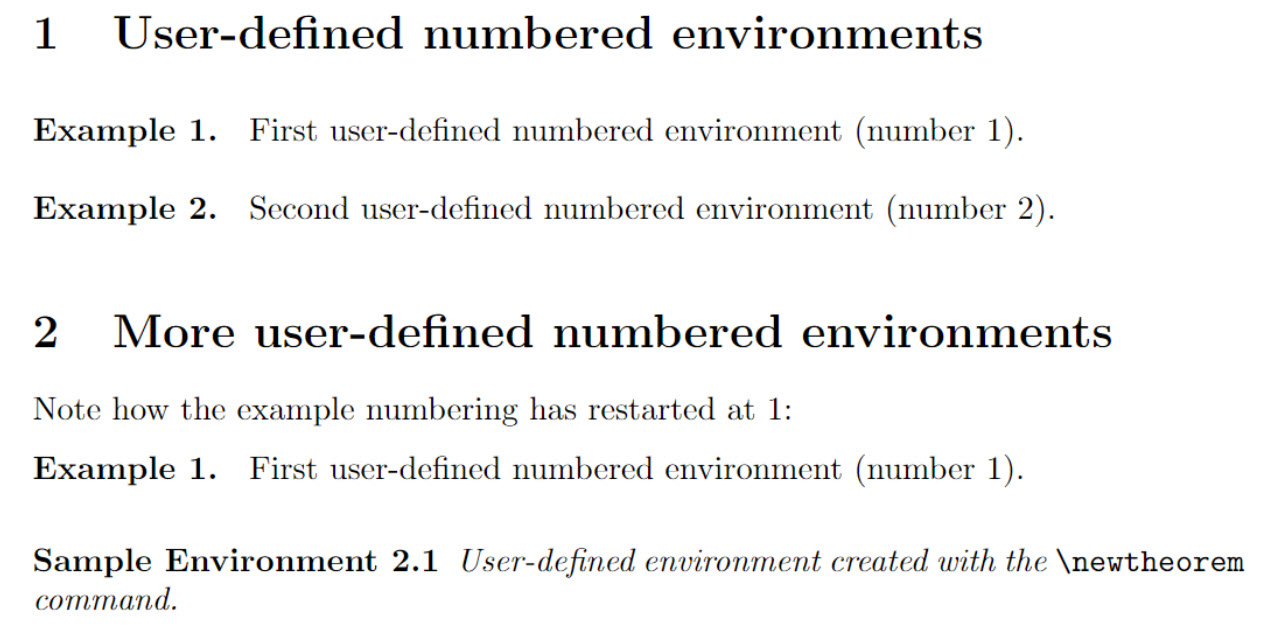
Numbered environments can be created either manually or directly with the command \newtheorem, as demonstrated by the following example:
\documentclass{article}
% Define our numbered environment within the preamble
\newcounter{example}[section]
\newenvironment{example}[1][]{\refstepcounter{example}\par\medskip
   \noindent \textbf{Example~\theexample. #1} \rmfamily}{\medskip}

% Another numbered environment defined with \newtheorem
\usepackage{amsmath} % For the \newtheorem command
\newtheorem{SampleEnv}{Sample Environment}[section]
\begin{document}

\section{User-defined numbered environments}

\begin{example}
First user-defined numbered environment (number \theexample).
\end{example}

\begin{example}
Second user-defined numbered environment (number \theexample).
\end{example}

\section{More user-defined numbered environments}
Note how the example numbering has restarted at 1:

\begin{example}
First user-defined numbered environment (number \theexample).
\end{example}

\begin{SampleEnv}
User-defined environment created with the \verb|\newtheorem| command.
\end{SampleEnv}
\end{document}
This example produces the following output:
Some notes
- In the manually-defined
exampleenvironment the command\newcounter{example}[section]creates a counter, also calledexample. Theexamplecounter is:- incremented by 1 by using
\refstepcounter{example}within the environment definition; - reset every time a new
\section{...}is started; - a variable whose current value can be typeset using
\theexample. See the article about counters to learn more.
- incremented by 1 by using
- The command
\newtheoremdirectly creates a numbered environment and takes three parameters:- the name of the new environment:
SampleEnvin our example; - the text to be printed in bold at the beginning of the line:
Sample Environmentin our example; - an optional parameter which determines when the counter is reset; and if it’s used the counter gets preceded by that reset counter’s value:
sectionin our example.
- the name of the new environment:
The amsthm package, along with amsmath, provide useful extra definitions alongside \newtheorem; see Theorems and proofs for further details.
Redefining existing environments
Environments can be redefined using \renewenvironment whose syntax is the same as \newenvironment—see the section Defining a new environment for an explanation of the various parameters:
\newenvironment{name}[numarg][optarg_default]{begin_def}{end_def}The next example redefines the itemize environment—this is only an example to illustrate the process, it should not be considered within a real document. The new itemize environment no longer produces a bulleted list; instead, it centres and emphasizes (italicizes) the text within it (using the \em command).
\documentclass{article}
% Redefine the environment in the preamble
\renewenvironment{itemize}
{\begin{center}\em}
{\end{center}}
\begin{document}

\begin{itemize}
We have redefined the \texttt{itemize} environment so that any text
within it is centred and emphasised (italicized). It no longer creates
a bulleted list---this is only an example and not intended for use
in real documents!
\end{itemize}
\end{document}
Open this example in Overleaf.
This example produces the following output:

Further reading
For more information see: